Creative Ideas For Painted Pumpkin Faces: A Complete Guide
Painted pumpkin faces are a fun and artistic way to celebrate the fall season, especially during Halloween. These vibrant creations allow you to express your creativity while adding a festive touch to your home or event. In this guide, we will explore everything you need to know about painted pumpkin faces, from choosing the right pumpkins to painting techniques and design ideas.
As the leaves change color and the air turns crisp, many people look forward to the tradition of decorating pumpkins. Whether you are a seasoned artist or a novice looking for a fun activity with family and friends, painted pumpkin faces offer endless possibilities for creativity. This article will provide you with inspiring ideas, step-by-step instructions, and tips for creating your own unique pumpkin masterpieces.
Let’s dive into the world of painted pumpkin faces and discover how you can create stunning designs that will impress everyone this Halloween. From classic spooky faces to whimsical characters, the options are truly limitless!
Table of Contents
- Choosing the Perfect Pumpkin
- Essential Painting Supplies
- Design Ideas for Painted Pumpkin Faces
- Step-by-Step Painting Techniques
- Safety Tips for Pumpkin Painting
- Displaying Your Painted Pumpkins
- Cleaning Up After Pumpkin Painting
- Conclusion
Choosing the Perfect Pumpkin
When it comes to painted pumpkin faces, the first step is selecting the right pumpkin. Here are some tips to help you choose the perfect one:
- Size: Consider the size of your pumpkin. Larger pumpkins provide more space for intricate designs, while smaller ones are great for simple faces.
- Shape: Look for pumpkins with a smooth, even surface. Round shapes are ideal for traditional faces, while tall or unusual shapes can inspire creative designs.
- Color: While orange is the classic choice, consider white, green, or even striped pumpkins for unique looks.
- Condition: Inspect the pumpkin for any blemishes or soft spots. Choose one that is firm and free of defects.
Essential Painting Supplies
To get started with painted pumpkin faces, you will need some essential supplies. Here’s a list of what you’ll need:
- Paint: Acrylic paint is a popular choice for pumpkins. It's easy to work with and dries quickly.
- Brushes: A variety of brushes, including fine-tipped brushes for detail work and larger brushes for base coats.
- Palette: Use a palette to mix and organize your paint colors.
- Sealant: A clear sealant can help protect your painted pumpkins from the elements.
- Water and Rags: Keep water and cleaning rags handy for easy cleanup.
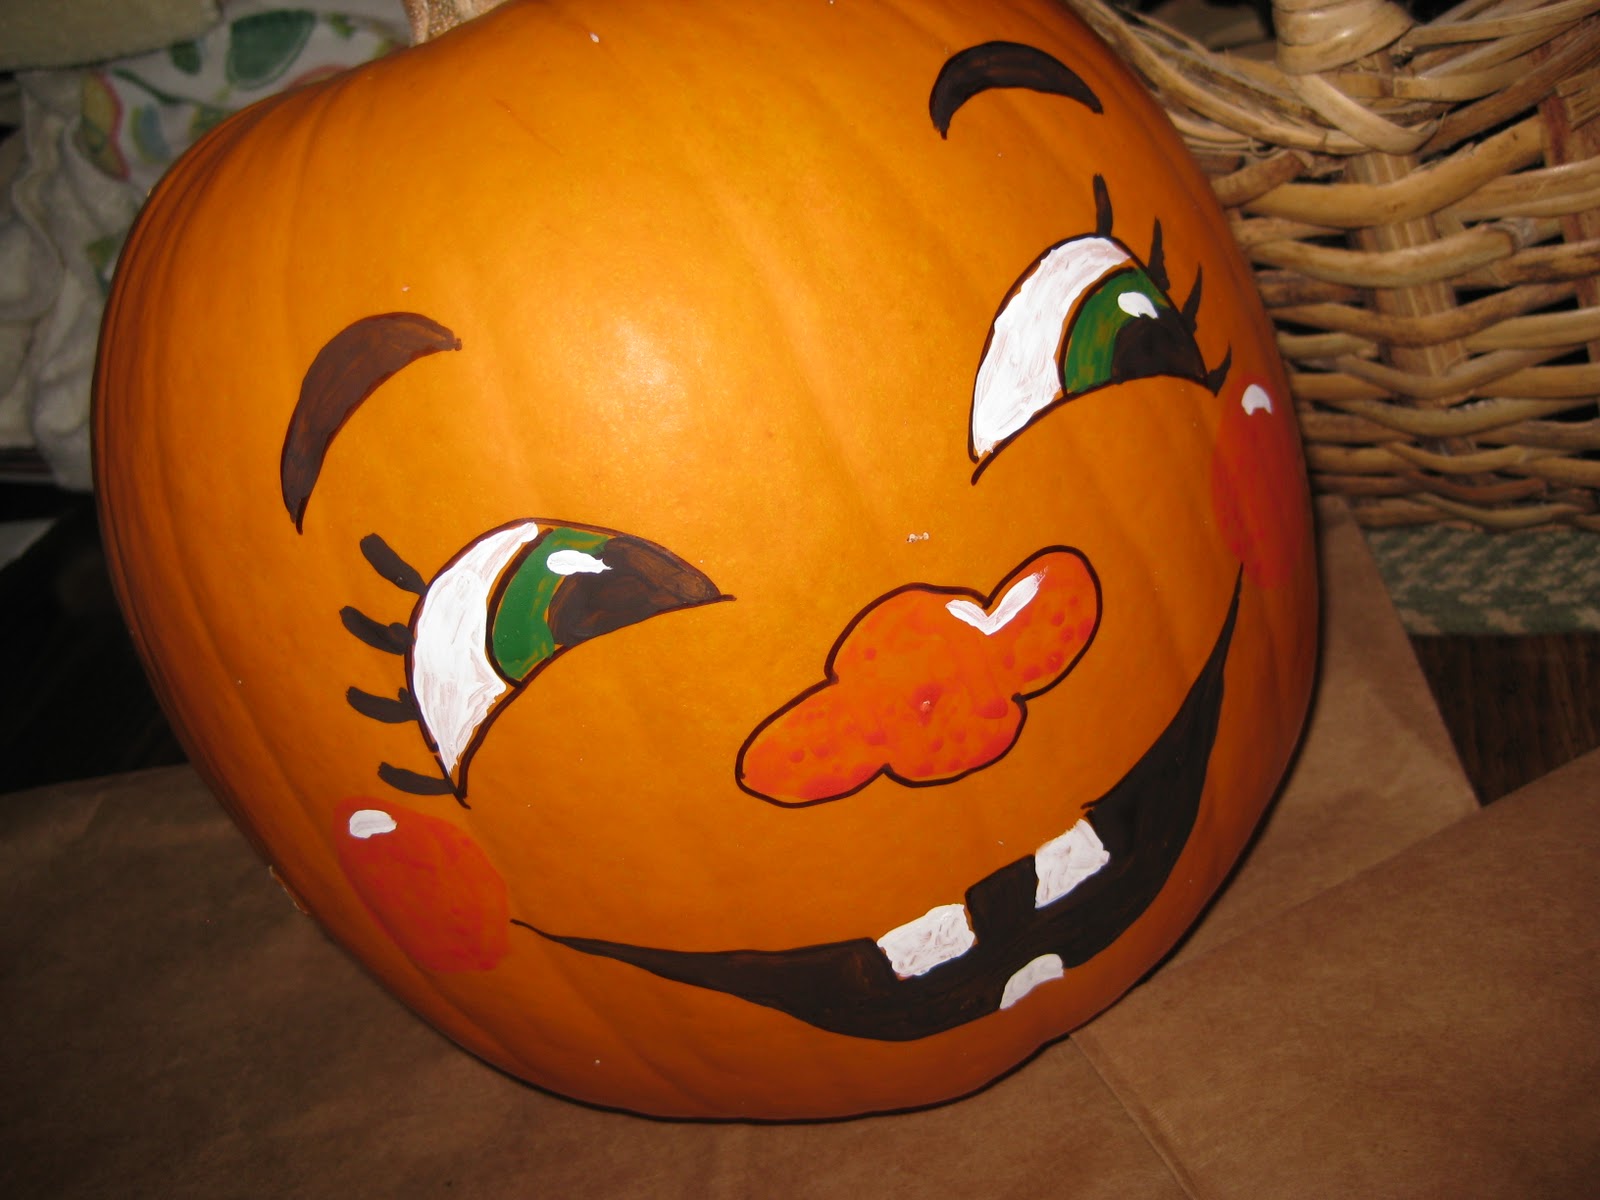
Design Ideas for Painted Pumpkin Faces
Here are some creative design ideas for your painted pumpkin faces:
- Classic Jack-o'-Lantern: Create a traditional spooky face with triangular eyes and a jagged mouth.
- Funny Faces: Paint silly expressions like googly eyes or big smiles for a lighthearted touch.
- Animal Faces: Transform your pumpkin into a cute animal like a cat, owl, or even a monster.
- Famous Characters: Paint pumpkins to resemble your favorite movie or cartoon characters.
- Floral Designs: Instead of a face, consider painting intricate floral patterns for an elegant look.
Step-by-Step Painting Techniques
Follow these steps to create your painted pumpkin faces:
- Prepare the Pumpkin: Clean the surface of the pumpkin with a damp cloth to remove dirt.
- Sketch Your Design: Lightly sketch your design with a pencil to guide your painting.
- Base Coat: Apply a base coat of paint in the desired color and let it dry completely.
- Add Details: Use smaller brushes to add details, such as eyes and mouths, in contrasting colors.
- Finishing Touches: Add any final touches, like highlights or glitter, to enhance your design.
- Seal Your Pumpkin: Once dry, apply a clear sealant to protect your masterpiece.
Safety Tips for Pumpkin Painting
While painting pumpkins is a fun activity, it’s important to keep safety in mind:
- Ventilation: Ensure you are working in a well-ventilated area, especially if using spray paint.
- Protective Gear: Wear gloves and an apron to protect your skin and clothing from paint.
- Age Appropriateness: Supervise young children during the painting process to prevent accidents.
Displaying Your Painted Pumpkins
Once your painted pumpkins are complete, it’s time to display them! Here are some creative ideas:
- Front Porch: Line your front porch with painted pumpkins to welcome guests.
- Table Centerpiece: Use painted pumpkins as a centerpiece for your dining table.
- Window Displays: Place pumpkins in your windows for a festive look.
- Outdoor Decor: Incorporate your painted pumpkins into your outdoor decorations for Halloween.
Cleaning Up After Pumpkin Painting
Cleaning up after your painting session is important for maintaining a tidy workspace:
- Dispose of Waste Properly: Throw away any used materials or paint containers responsibly.
- Wash Brushes and Tools: Clean your brushes and tools immediately after use to prolong their life.
- Store Paint Correctly: Seal paint containers tightly and store them in a cool, dry place.
Conclusion
Painted pumpkin faces are a fantastic way to embrace the spirit of the fall season and unleash your creativity. By following the tips and techniques outlined in this guide, you can create beautiful and unique designs that will delight your family and friends. So gather your supplies, pick your pumpkins, and start painting!
We invite you to share your painted pumpkin creations in the comments below or on social media! Don’t forget to check out our other articles for more fun fall activities and decor ideas.
Thank you for reading, and we hope to see you back here for more creative inspiration!
Whirlwind Kick In Elden Ring: Mastering The Art Of Combat
Delicious Hibachi Fried Rice Recipe: A Step-by-Step Guide
Hulda Clark Liver Cleanse: A Comprehensive Guide To The PDF Resource


